

Wall prep is 80% of a wallpaper install. Skip it, and the paper lifts within months. Do it right, and the paper lasts 15+ years. Here is how Houston Wallpapering preps walls before any wallpaper goes up.
The Goal: Smooth, Primed, Stable
Wallpaper wants three things from the wall under it:
- Smooth. No bumps, no texture, no patches that will telegraph through the paper.
- Primed. A wallpaper-grade primer (different from paint primer) seals the wall and gives the adhesive something predictable to bond to.
- Stable. No flaking paint, no peeling drywall paper, no active moisture issues.
Everything else — skim coat, sanding, repair — is in service of those three.

Step 1 — Identify What You Are Working With
Before you start prep, know the wall:
New construction drywall
Usually only needs a clean, light sand, and wallpaper-grade primer.
Painted drywall (smooth)
Clean, scuff-sand the paint, and prime. Most painted walls are wallpaper-ready with light prep.
Textured walls (knockdown, orange peel)
Need a skim coat to bring back to smooth. Common in Houston homes built 1990–2010.
Walls with old wallpaper
Remove the old paper, scrape adhesive residue, repair face-paper damage, skim coat as needed.
Step 2 — Remove Old Wallpaper (If Present)
Modern strippable wallpapers usually peel off cleanly when removed within 5–10 years of install. Older or hand-applied papers need:
- Score the paper with a scoring tool to let solution penetrate.
- Apply wallpaper removal solution (or warm water mixed with vinegar or wallpaper stripper).
- Let soak 15–20 minutes.
- Scrape with a putty knife at a low angle — do not gouge the drywall.
- Repeat for stubborn sections.
- Clean adhesive residue with a sponge and fresh water.
The wall must be 100% adhesive-free before the next step. Even a thin layer of leftover adhesive will cause the new paper to bubble within months.
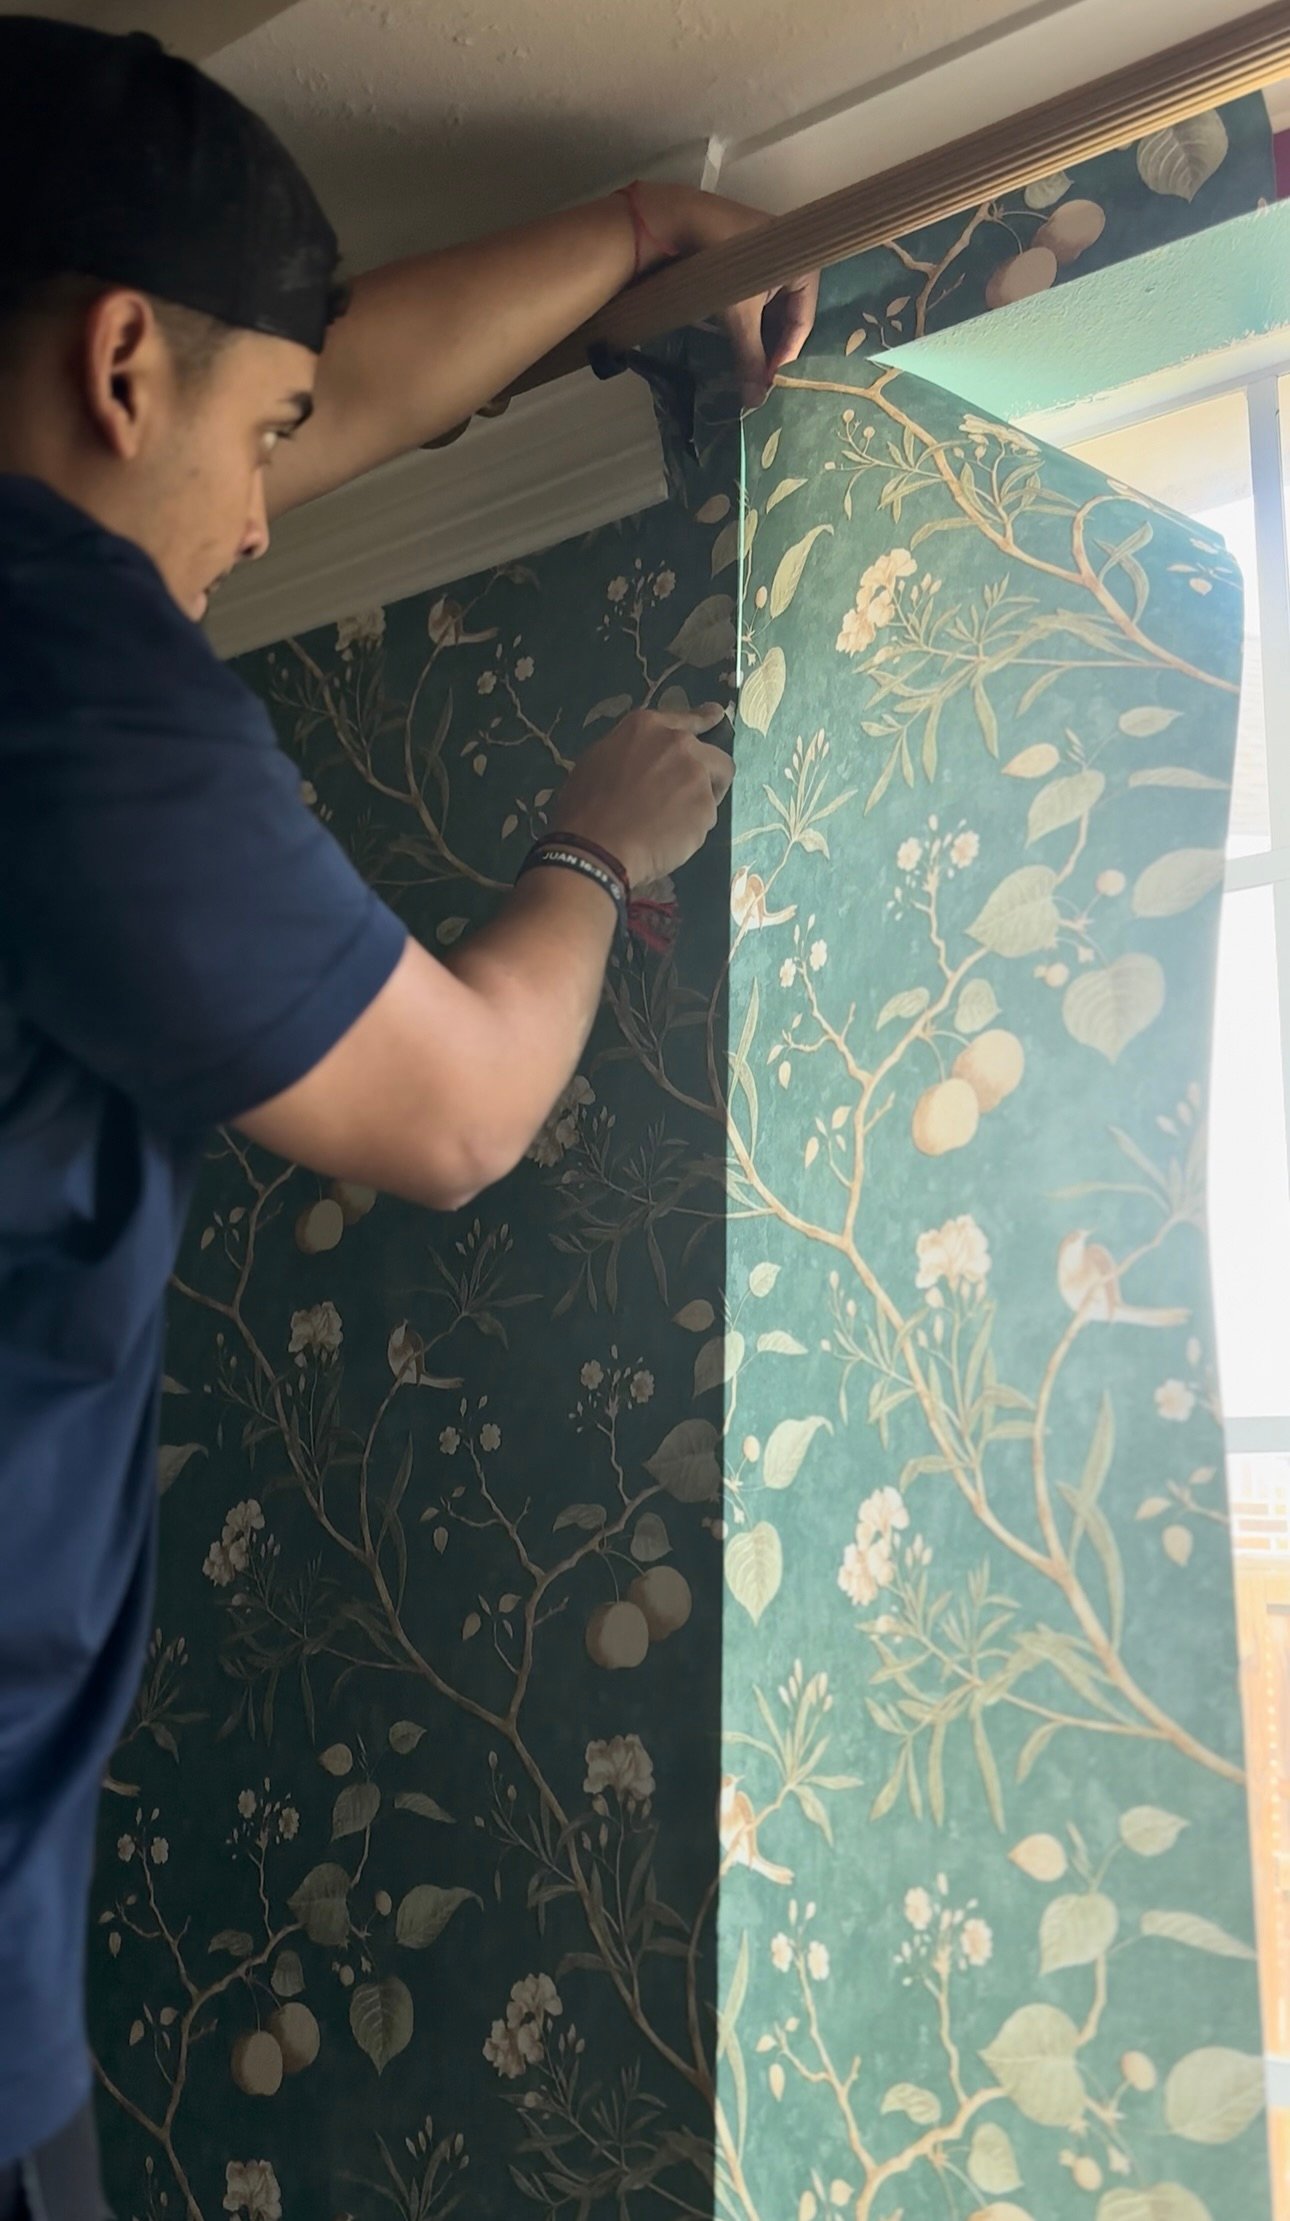
Step 3 — Repair and Skim Coat
Patch any nail holes, gouges, or damaged drywall. For textured walls, apply a thin layer of joint compound (skim coat) with a wide drywall knife, then sand smooth when dry. May require two skim-coat passes for heavy texture.
This is the step most DIY wallpaper installs skip — and the most common reason wallpaper fails on textured walls.
Step 4 — Sand Smooth
Light sanding with 220-grit sandpaper to smooth any skim coat or feathered repairs. Wipe down dust with a slightly damp cloth (not wet) and let dry fully.
Step 5 — Prime With Wallpaper-Grade Primer
This is critical. Regular paint primer is not enough. Wallpaper-grade primer (such as Roman R-35 or equivalent) seals the wall, creates the right surface tension for wallpaper adhesive, and makes future wallpaper removal much easier.
Apply primer with a roller, let dry per manufacturer instructions (usually 24 hours), and confirm the wall is fully dry before installing wallpaper.

Skipping the wallpaper-grade primer is the most common mistake in DIY wallpaper jobs. Paint primer is not wallpaper primer. The chemistry is different. So is the adhesion.
— Maykel Leal, Founder & CEO
Step 6 — Final Inspection
Before any wallpaper touches the wall, run your hand across the surface in good light. Feel for ridges, bumps, missed patches. Fix them now. Once the wallpaper is up, that bump shows through and cannot be fixed without removing the panel.
Frequently Asked Questions
Can I wallpaper directly over old wallpaper?
Can I wallpaper over freshly painted walls?
Do I really need wallpaper-grade primer?
How long should prep take?
Can I hire just the prep team and install myself?
Want us to handle the wall prep too?
Wall prep is part of our standard installation scope. Send photos and we will quote the full package.
 Beige
Beige Black
Black Blue
Blue Brown
Brown Copper
 Cream
Cream Gold
Gold Green
Green Grey
Grey Orange
 Pink
Pink Purple
 Red
Red Silver
 White
White Yellow
 Abstracts
 Architecturals
 Botanicals & Tropicals
 Damasks & Scrolls
 Florals
 Geometrics
 Ikat, Shibori & Watercolor
 Jacobean & Tapestry
 Medallions
 Novelty & Pop Culture
 Paisleys
 Small Prints
 Stripes, Plaids & Checks
 Textures
 Tiles
Tiles Toiles
 Accent Wall
 Bedroom
 Ceiling
 Dining Room
 Hallway/Entryway
 Living Room
 Nursery & Kids
 Office/Study
 Powder Room/Half Bath/Bathroom
 Animals, Birds & Insects
 Asian & Chinoiseries
 Bohemian
 Farmhouse
 Industrial
 Kids & Nursery
 Nautical